Step 1
This was a demonstration painting for one of my two-day workshops. The visual clues most effective in describing water are reflections. However when the water surface is broken, there are […]
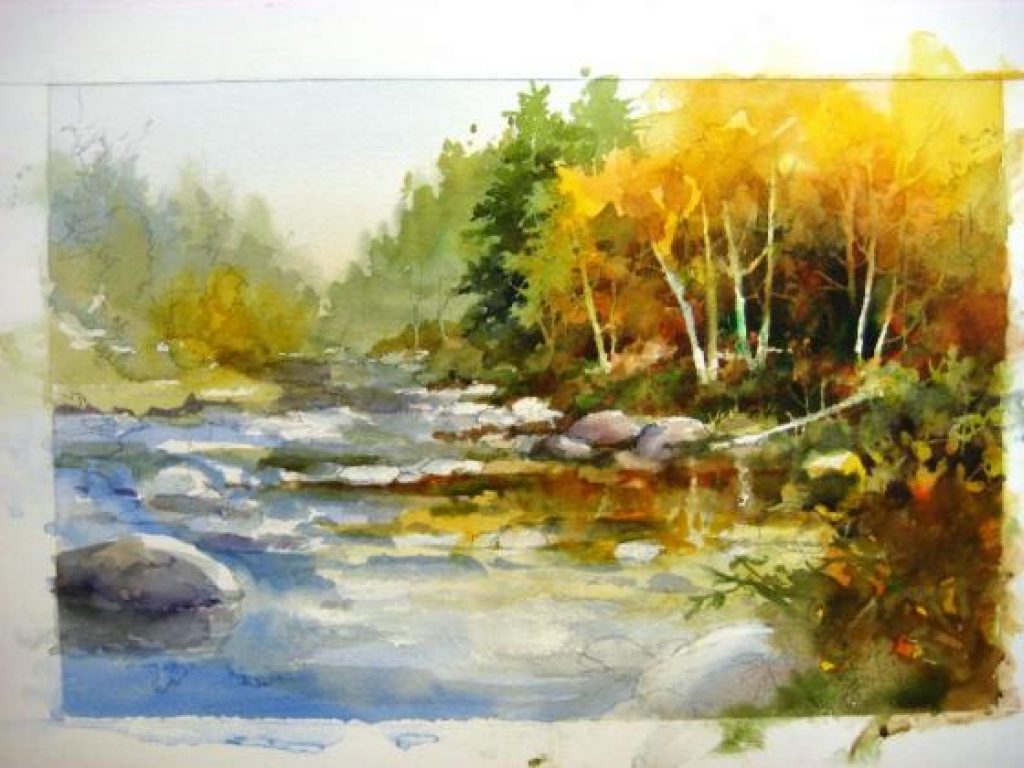
Step 2
The basic rule of thumb in painting water is to find a place to include reflections. Even in moving water, you should find a place where the water is still […]
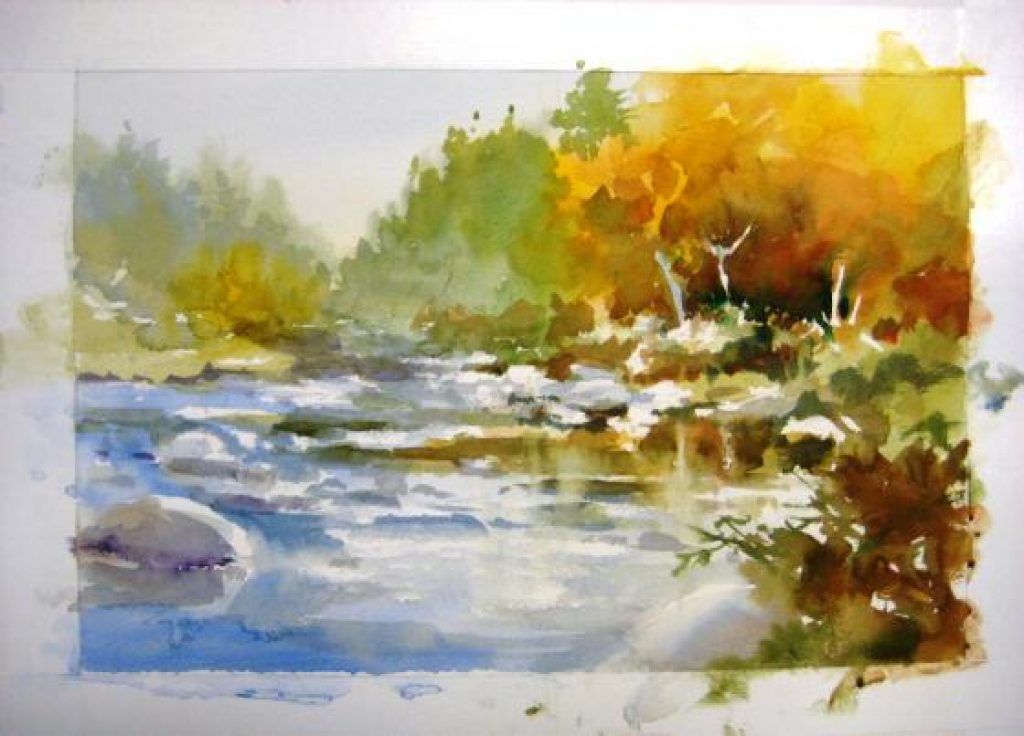
Step 3
After taping off my paper, I lay in loose watercolor washes trying to establish basic values and color temperature. Even at this early point I give an indication of reflections […]
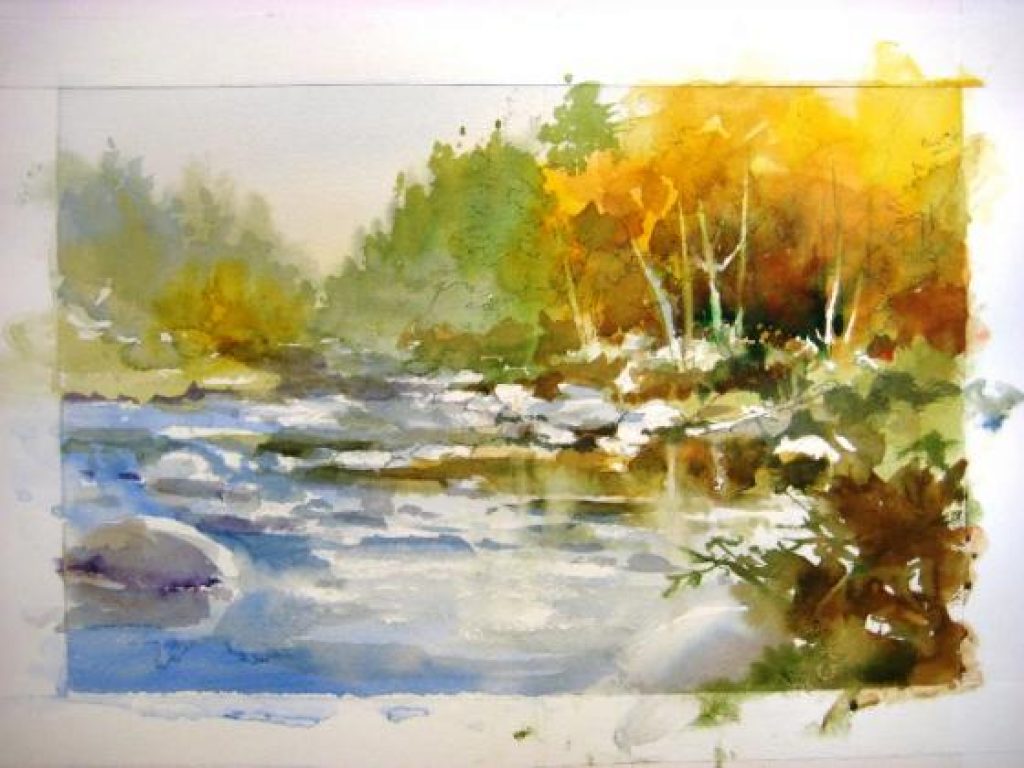
Step 4
It is necessary to get the darks in the background foliage so I know what my reflections will look like. With the darks in place on the right I can […]
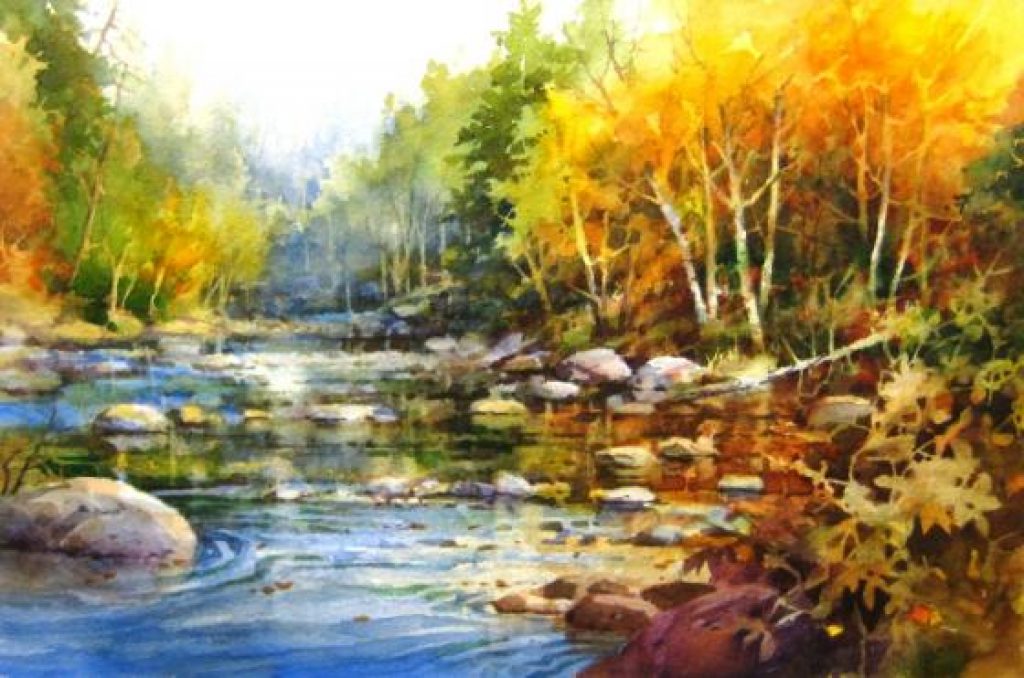
Step 5
Notice both the areas where negative painting was used. As I move to the foreground, details were added such as leaves at right and small ripples around the foreground boulder. […]