Step 1
Follow along as I demonstrate the whole watercolor painting process on how to paint the cliffs of Zion National Park. I will demonstrate the watercolor techniques of “wet-into-wet” and layering […]

Step 2
Once again I begin by establishing the sky area. This only takes a few minutes and is done wet in wet to keep the colors fresh and lively. I then […]
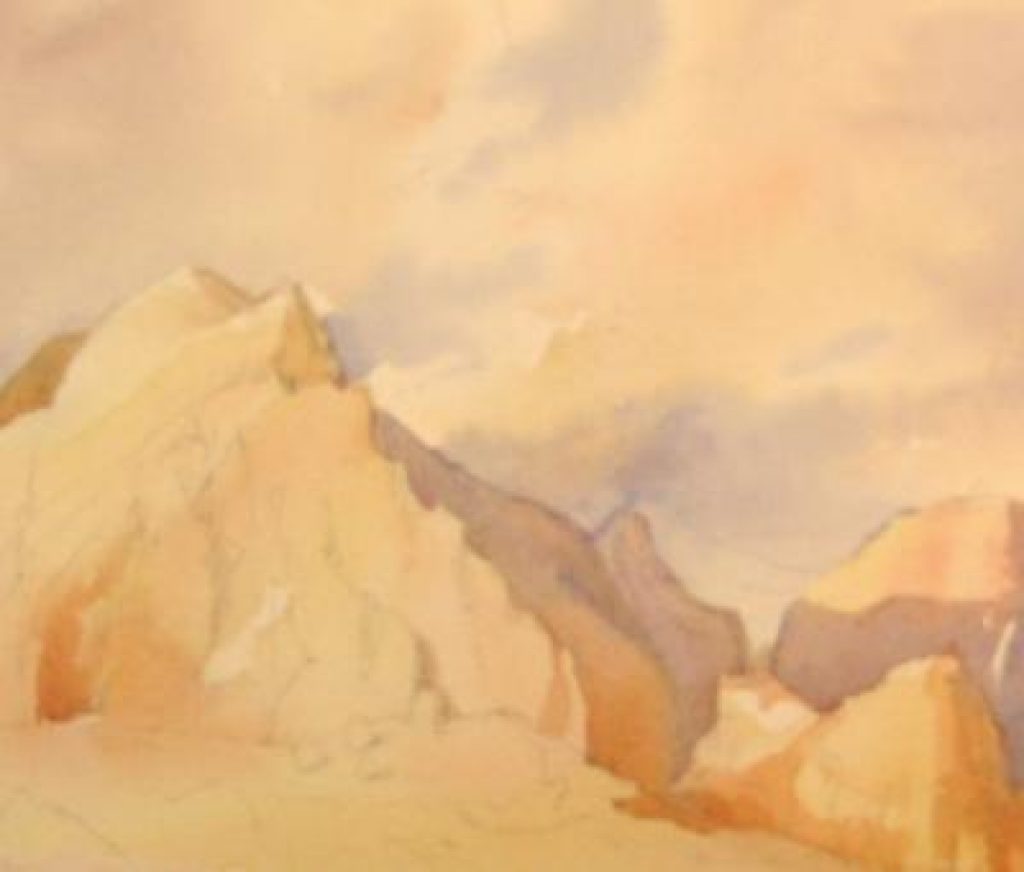
Step 3
A close-up of the sky lets you see how the pigments mingle freely. As I start to paint the cliffs I keep my washes very light. With the first washes […]

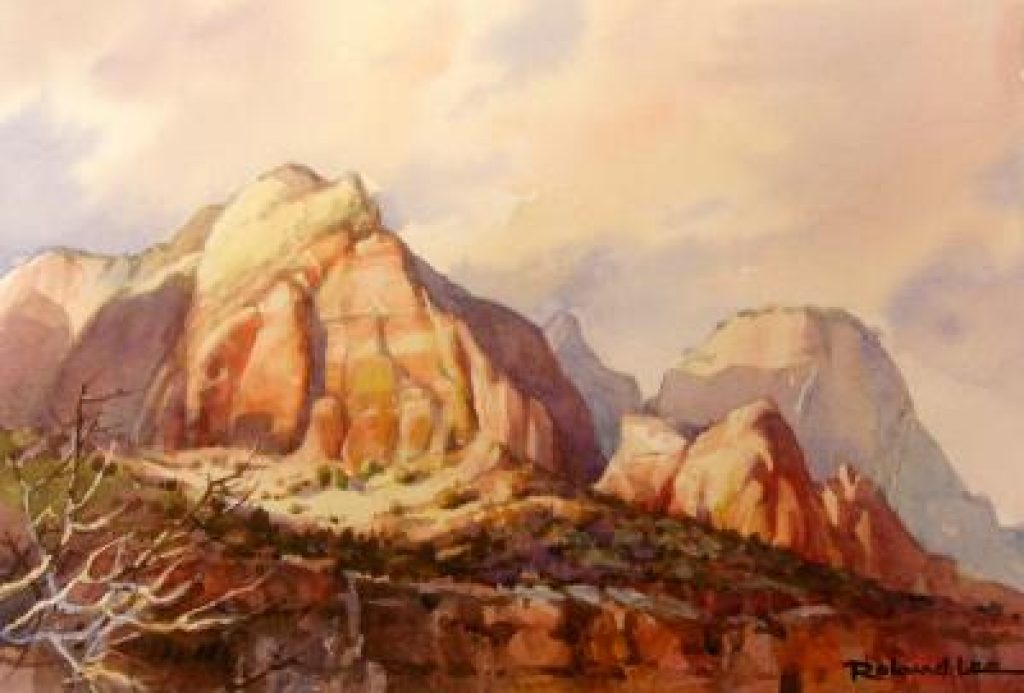
Step 4
Notice that the darkest darks and the lightest lights are always in the foreground. Because I kept the distant mountains lighter in value they seem to recede into the distance. […]

Step 5
This painting was juried into the prestigious Paint America “Paint the Parks top 50 Mini” competition which toured America in 2007 and 2008.