Step 1
I love painting the texture of red sandstone, especially with the long, runny streaks caused by the erosion of water. This is fairly easy in watercolor using a combination of […]

Step 2
I am using a full sheet of Arches 140 lb. cold press. I first soaked it in the tub, then stapled it to my backing board. When dry I lightly […]
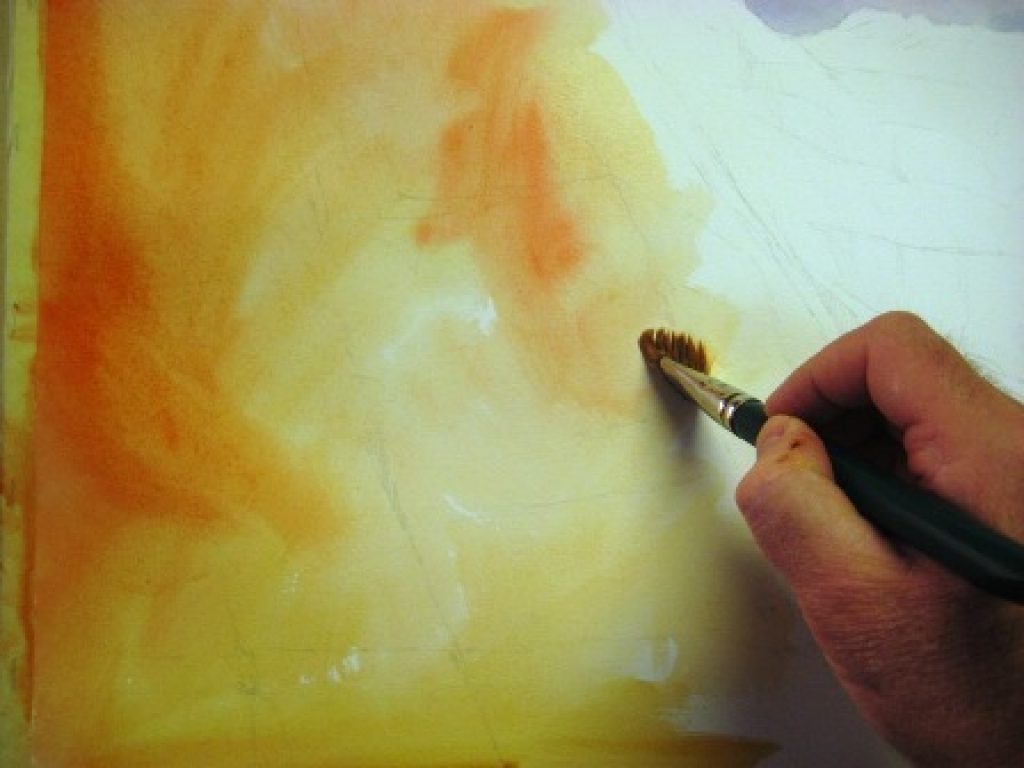
Step 3
While the sky is drying I move down to the foreground rocks and begin a very bold lay-in of color with a one-inch flat brush. I use both wet into […]
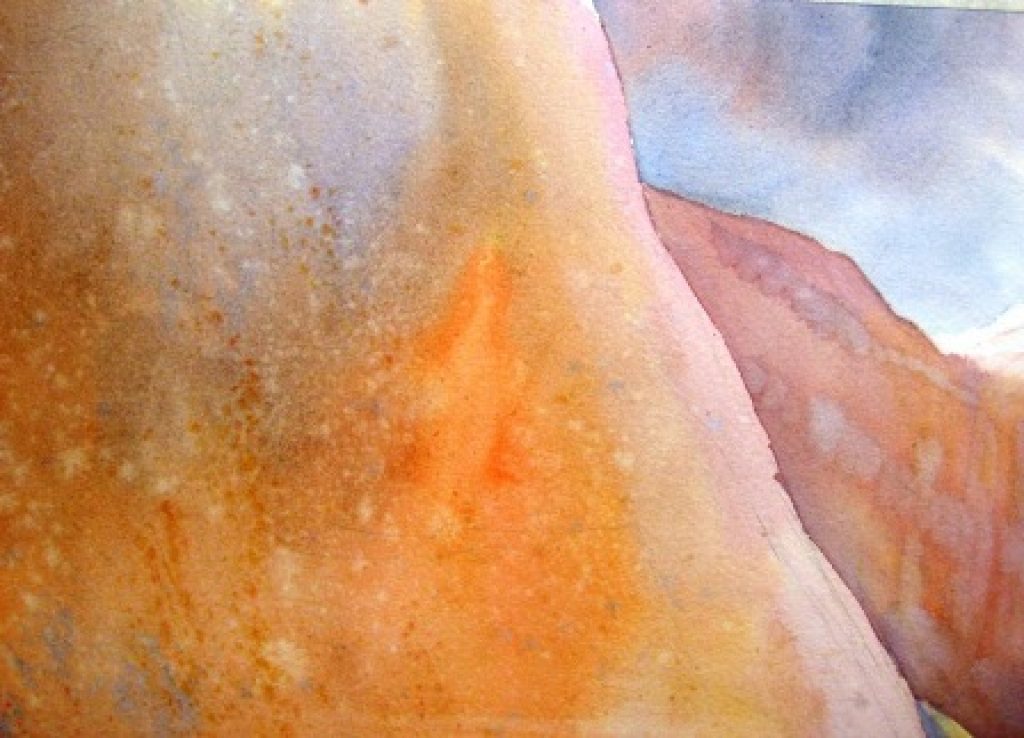
Step 4
A close-up allows you to see method of creating texture on the rocks. As the pigment starts to dry, I deliberately create small back runs or oozles by loading my […]
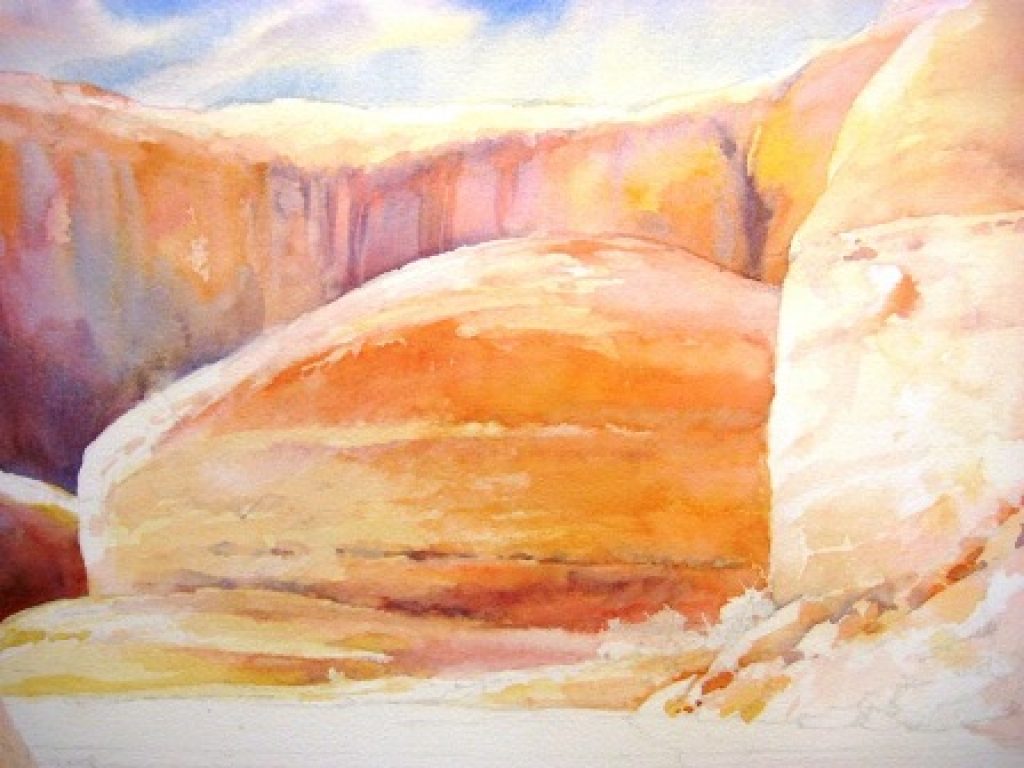
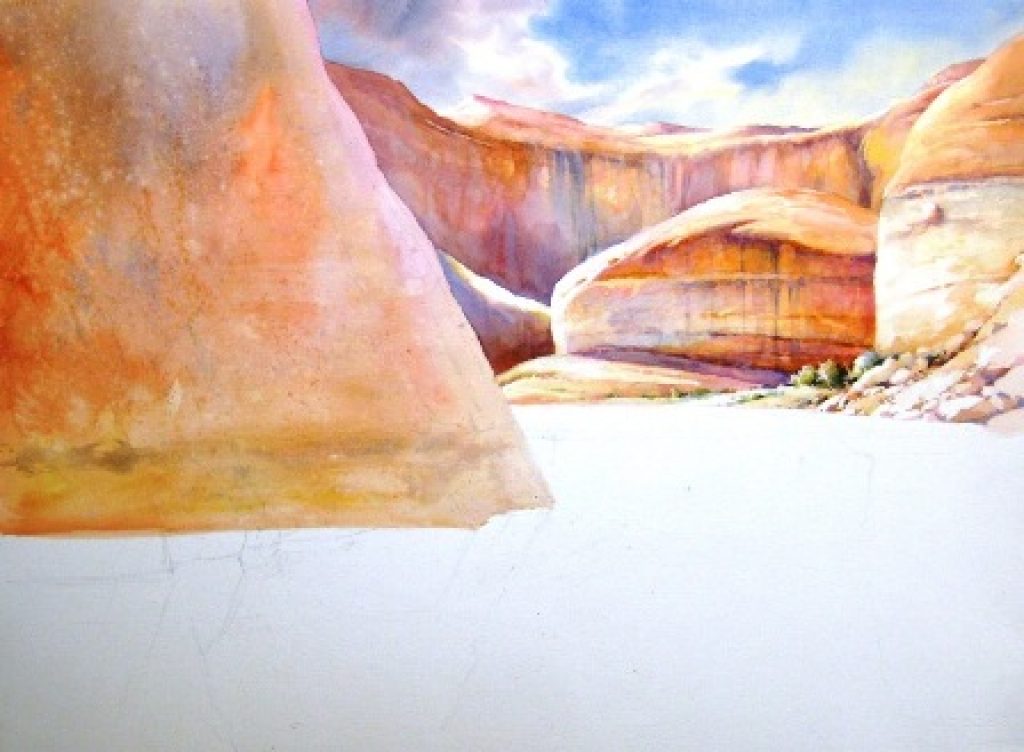
Step 5
I use the same techniques on the distant rocks and cliffs being careful to preserve the whites along the sunny edges. I also add some of the streaks on the […]
Step 6
Now that I have most of the cliffs established, I can see where my reflections will be in the water. I first sketch them in with the 4H pencil trying […]

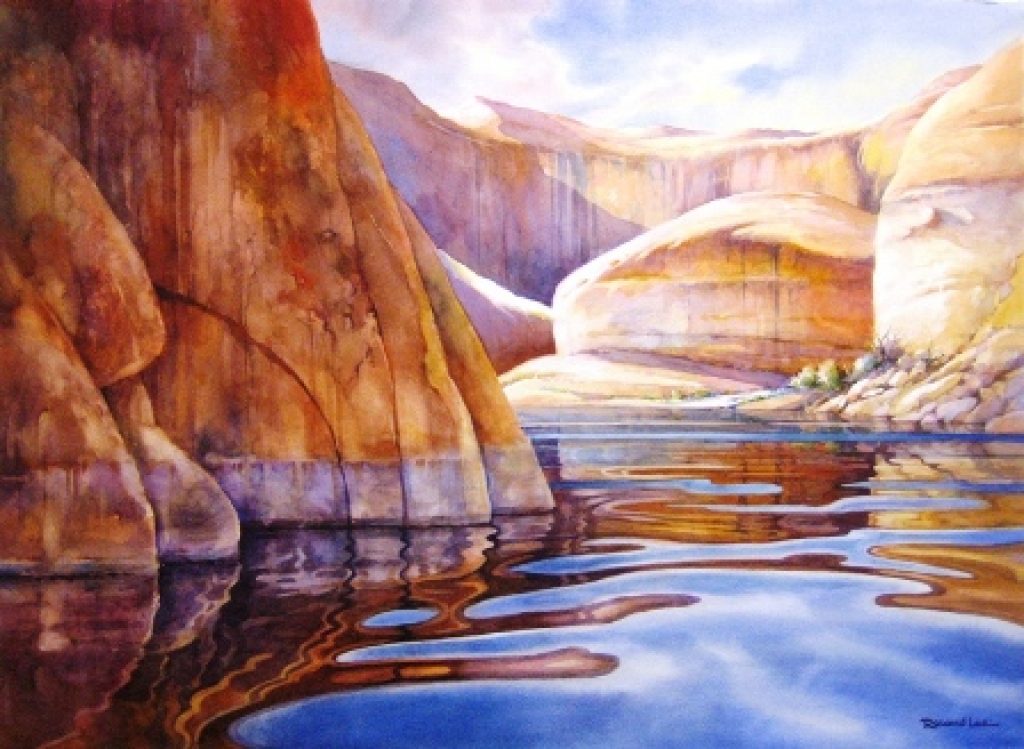
Step 7
After painting the reflections, I fine-tune the rest of the painting adding additional glazes and detail in the foreground rocks. “Lake Powell Cliffs” 22 x 30 Transparent Watercolor by Roland […]