Step 1
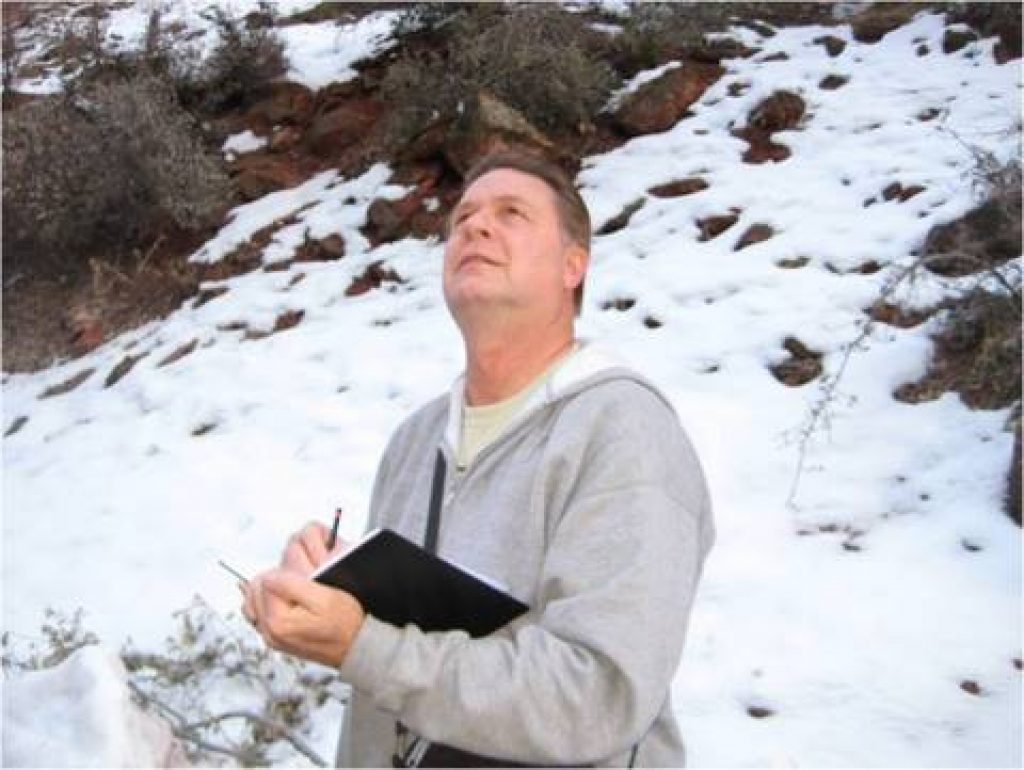
A sketching trip to Zion National Park during January 2010 was the stimulus for this watercolor painting. I used the reference for a watercolor demonstration during one of my Two-Day […]
Step 2
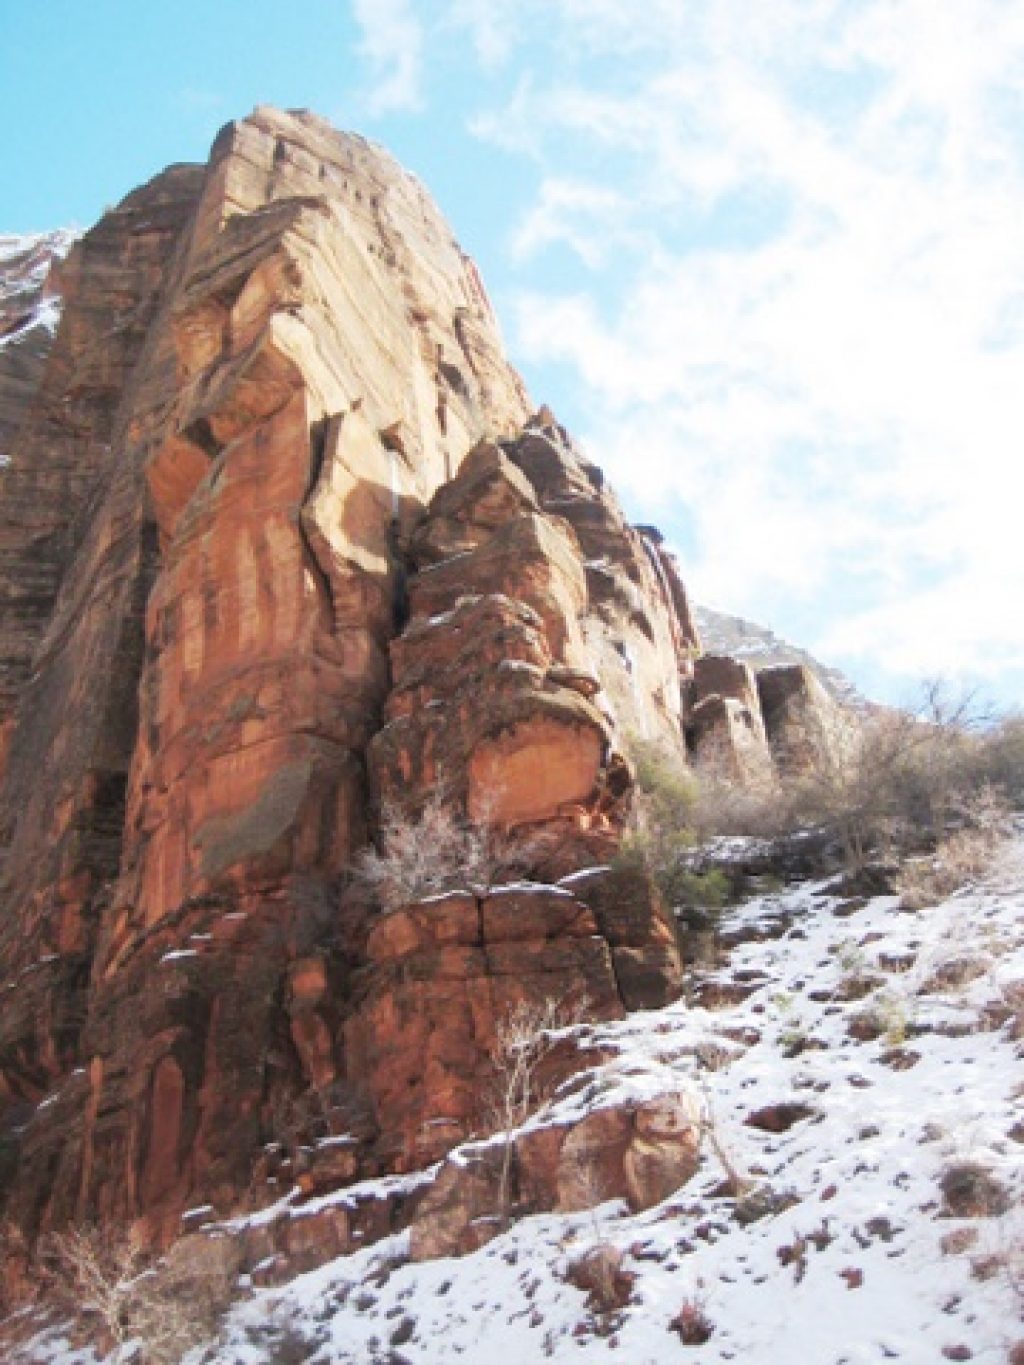
I shot this reference photo while hiking in Zion Canyon. A fresh blanket of snow had recently fallen. The air was crisp and the contrast of white against the red sandstone […]
Step 3
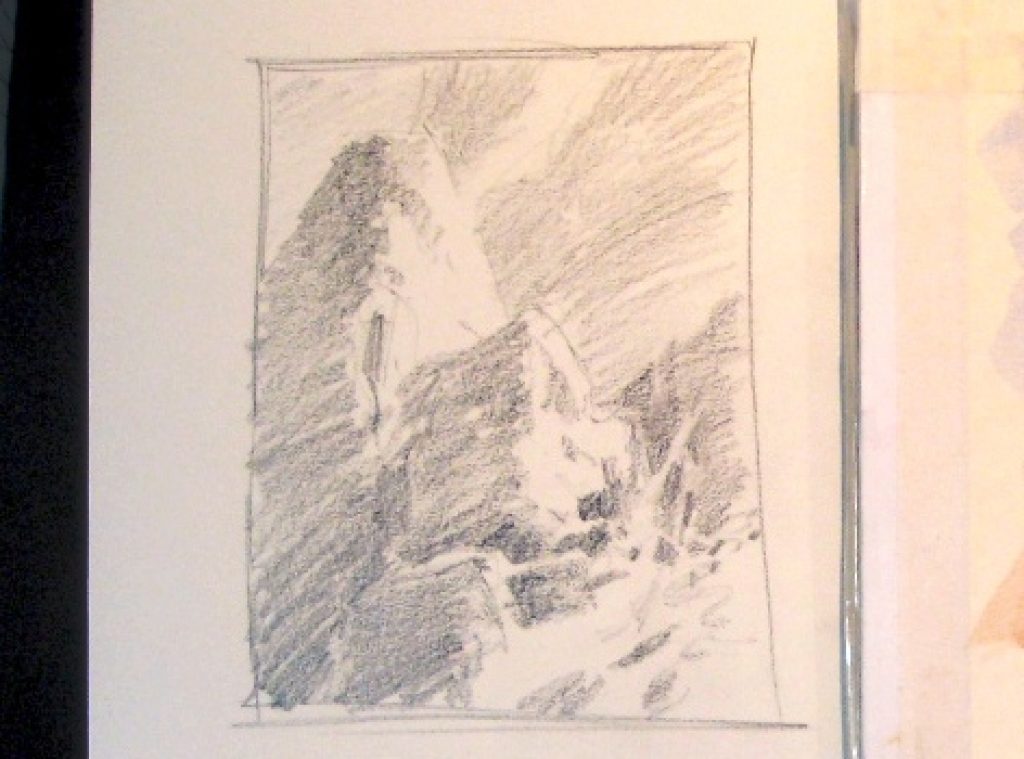
I begin with a small 3″ x 5″ Thumbnail value study to help plan the overall design composition and work out the darks and lights. With this study taped to […]
Step 4
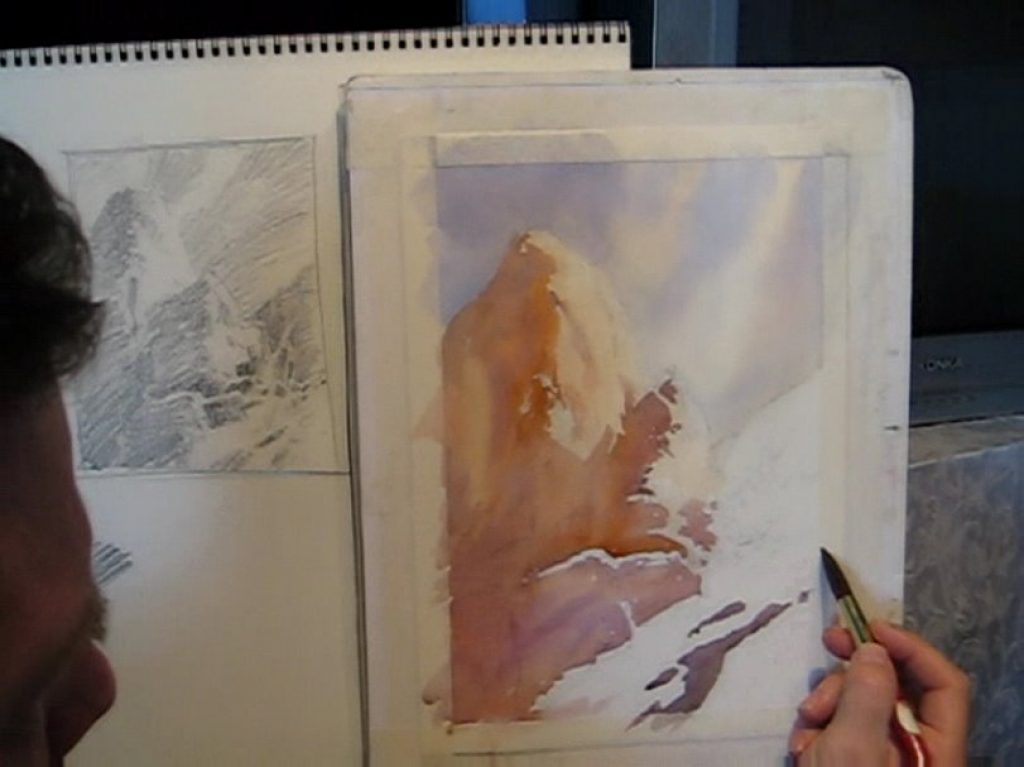
With the thumbnail taped to my board, I begin by laying in a sky wash. While it is drying I move down onto the cliff face and paint the lightest […]
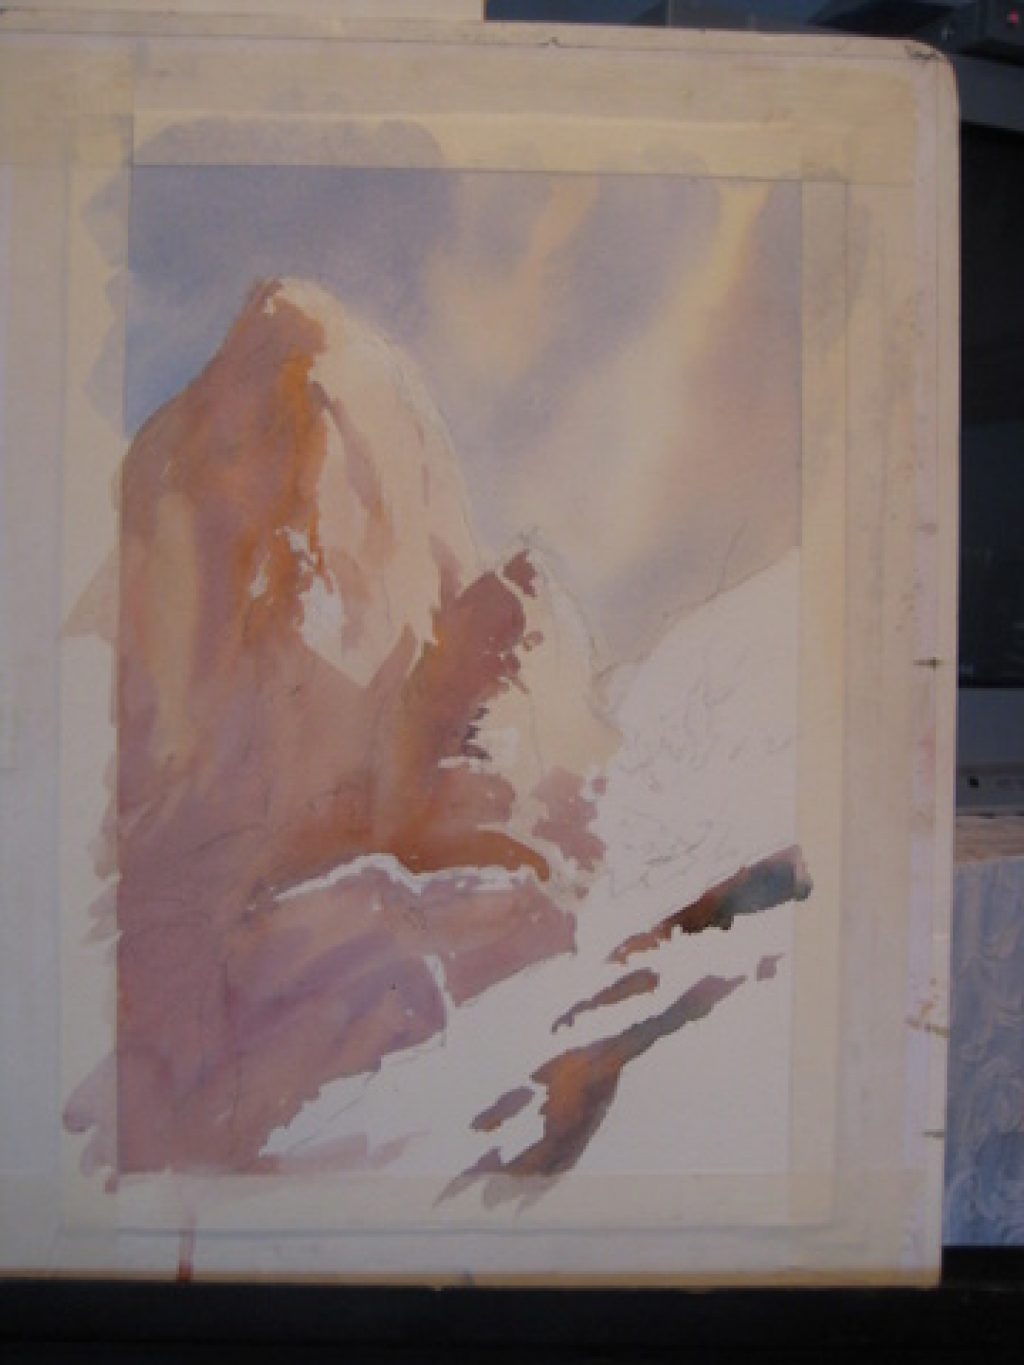
Step 5
I’m working on 140 lb. Arches Cold Press watercolor paper, which is my favorite paper for smaller works. I wet the sky area first, then drop in my colors using […]
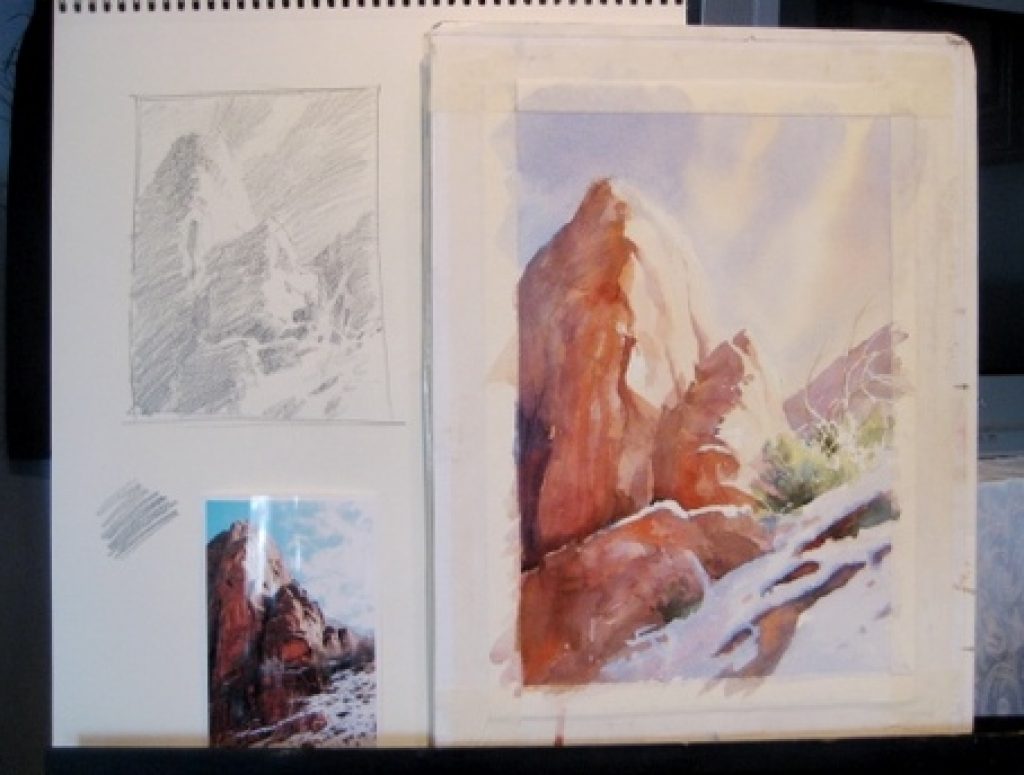
Step 6
While painting I keep my value study and reference photo nearby. I pay more attention to my value study than the photo. I am simplifying the shapes to direct the […]
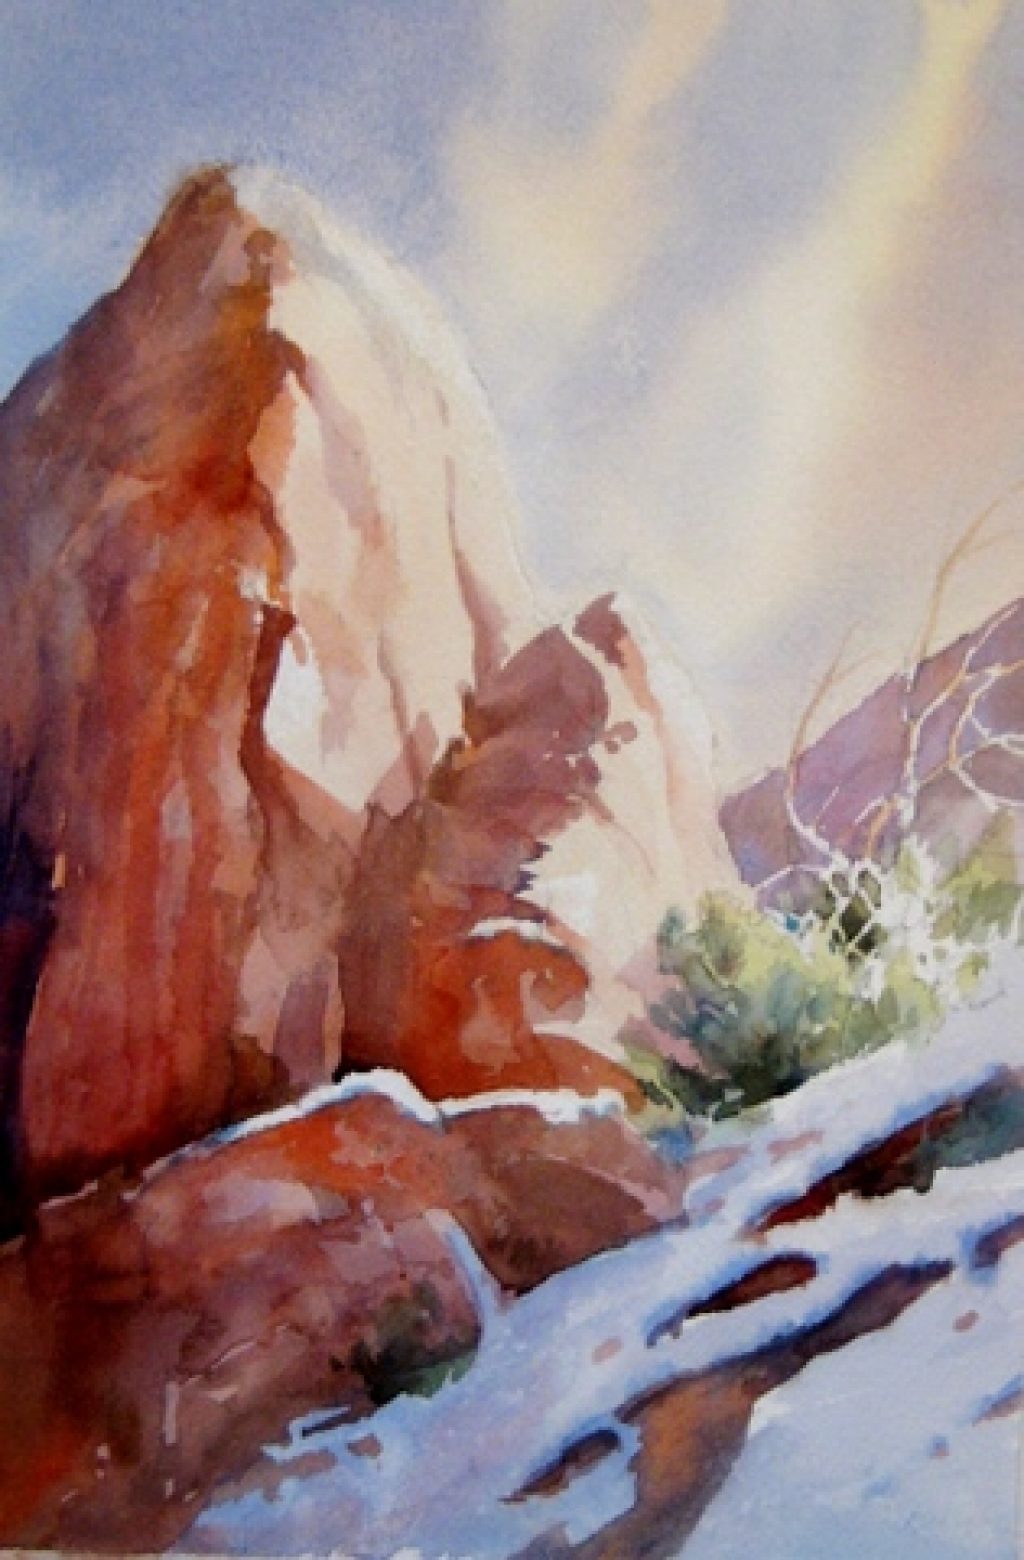
Step 7
Finished 40-minute Painting”Rock and Snow” 8″ x 12″. Watch the 8 minute video “Rock and Snow“